How a Pro Restores Shine and Smoothness to Worn Stone
Professional marble polishing follows a clear process. The stone is checked, cleaned, repaired if needed, honed to remove dull spots, polished to bring back shine, and sealed for added protection. This method helps fix etches, light scratches, and uneven gloss. In many homes and businesses, marble polishing works best when the floor or surface has more than simple surface dirt.
What You Need Before Starting
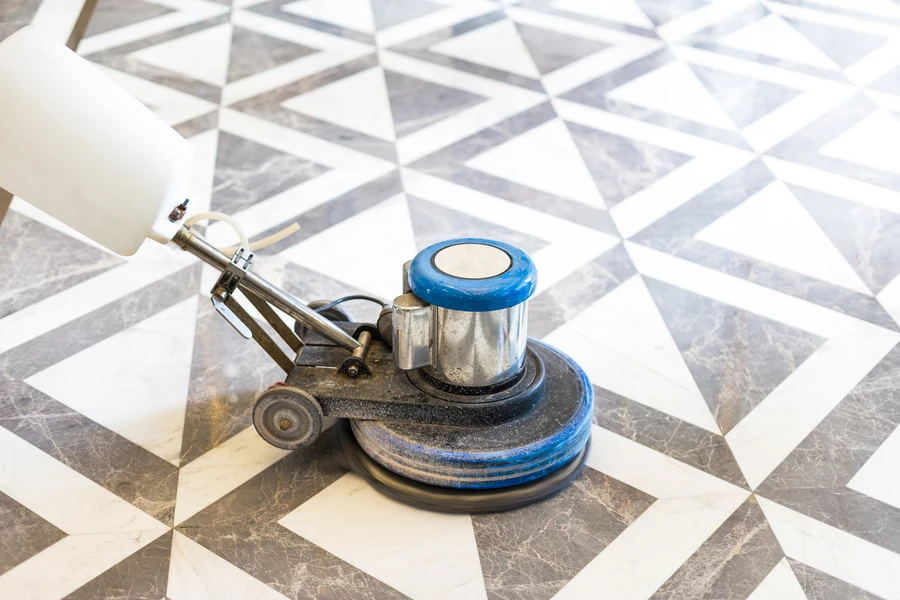
Before any marble polishing begins, the surface needs a careful review. Marble is softer than many people think. It can scratch, stain, and lose shine from acids, gritty dirt, and the wrong cleaners. A pro will usually inspect the type of marble, the finish, the level of damage, and any past repair work. This helps them choose the right pads, powders, and tools.
You also need the area ready. Furniture should be moved if possible. Dust and loose debris should be removed. The surface should be dry unless a wet process is being used. Good prep helps the polishing stage go faster and gives a cleaner result. If this work is part of a larger stone care or floor surface service, the team may also check nearby grout lines, edges, and transition points between rooms.
The Step-by-Step Process
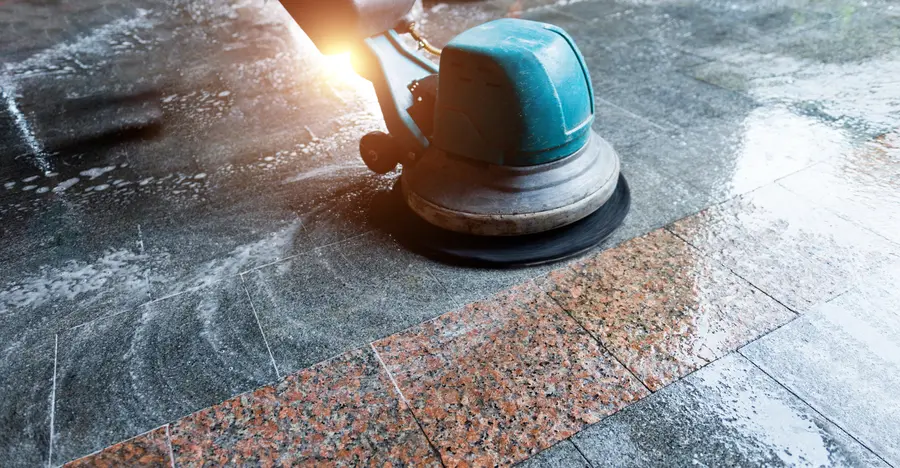
Most professional marble polishing jobs follow the same basic path. The exact steps can change based on the stone’s condition, but the goal stays the same: remove damage, smooth the surface, and restore shine.
- Inspect the marble for scratches, etch marks, stains, chips, and dull areas.
- Clean the surface to remove dirt, oils, and old residue.
- Protect nearby walls, trim, and other materials from dust or splash.
- Fill small chips or cracks if repairs are needed before polishing.
- Hone the marble with the right abrasives to level light damage.
- Polish the stone with a polishing compound or powder made for marble.
- Buff the area to even out the finish and improve clarity.
- Seal the marble if the stone type and use call for added protection.
- Do a final check under good light to spot missed marks or uneven gloss.
Inspection comes first for a reason. A shiny floor can still have hidden etching. A countertop may look clean but have worn spots near the sink. By checking the surface first, a pro can tell if a simple polish is enough or if honing is needed first.
Cleaning is also a big part of the job. Dirt left on the stone can act like sand during polishing. That can add more scratches. After cleaning, minor repairs may be made. Small chips along an edge or tiny holes in the stone can stand out more after polishing, so they are often handled early.
Honing is the step that removes a thin layer from the marble. This helps smooth out etched spots, dull traffic lanes, and light scratches. Then the polishing stage brings back the gloss. The final sealer does not make marble damage-proof, but it can help slow down staining from spills.
Common Mistakes to Avoid
Many marble problems come from using the wrong products or rushing the work. One common mistake is treating marble like tile. Marble needs special care. Strong cleaners, vinegar, bleach mixes, and rough pads can all damage the surface.
- Using acidic cleaners that leave etch marks
- Skipping the cleaning step before polishing
- Using the wrong grit or pad on soft stone
- Trying to polish over deep scratches without honing first
- Applying too much product and leaving residue behind
- Sealing dirty marble and trapping marks under the sealer
Another mistake is expecting polish to fix every issue. Polishing can improve many surfaces, but deep cracks, heavy lippage, and severe staining may need repair or restoration first. It is also easy to create an uneven shine if one area is worked more than another.
When to Call a Professional
Some marble care tasks are simple. Regular dust mopping and gentle cleaning are fine for many owners. Professional help makes more sense when the stone has etch marks, a patchy finish, visible wear paths, or scratches that catch the light. A pro should also be called when marble covers a large area or sits in a high-use space like a hotel lobby, office, bath, or busy kitchen.
You may also want expert help if you are not sure what kind of stone you have. Some surfaces look like marble but react differently. Using the wrong method can make the problem worse. A trained specialist can test the surface, pick the right method, and avoid extra damage.
Professional marble polishing is often the better choice after failed DIY work too. For example, if a homeowner uses a store-bought shine product, the floor may look better for a few days, then turn cloudy. In that case, the coating may need to be stripped before real polishing can begin.
Final Recommendation
If your marble has lost its shine, the best path is a careful inspection, proper surface prep, light repair if needed, and the right polishing method for that stone. Quick shortcuts often lead to mixed results. For property owners in Rancho Santa Margarita, CA, it helps to act early before dull spots turn into deeper wear. If you want clear answers about your surface, contact Stone Shine Stone Restoration at (949) 208-9441. We can inspect the stone, explain your options, and help you choose the right next step for lasting results.